Pi-hole and Unbound: Your Own Recursive DNS Server
A short step-by-step write-up of my Pi-hole and Unbound setup on Synology Container Manager, including the issues I faced and how I fixed them.
Running your own DNS stack at home is one of those projects that looks simple at first, then teaches you a lot about containers, networking, and version-specific configuration changes.
I recently built a Pi-hole and Unbound setup on my Synology NAS using Container Manager. This post documents the setup process, the final working configuration, and the issues I encountered along the way.
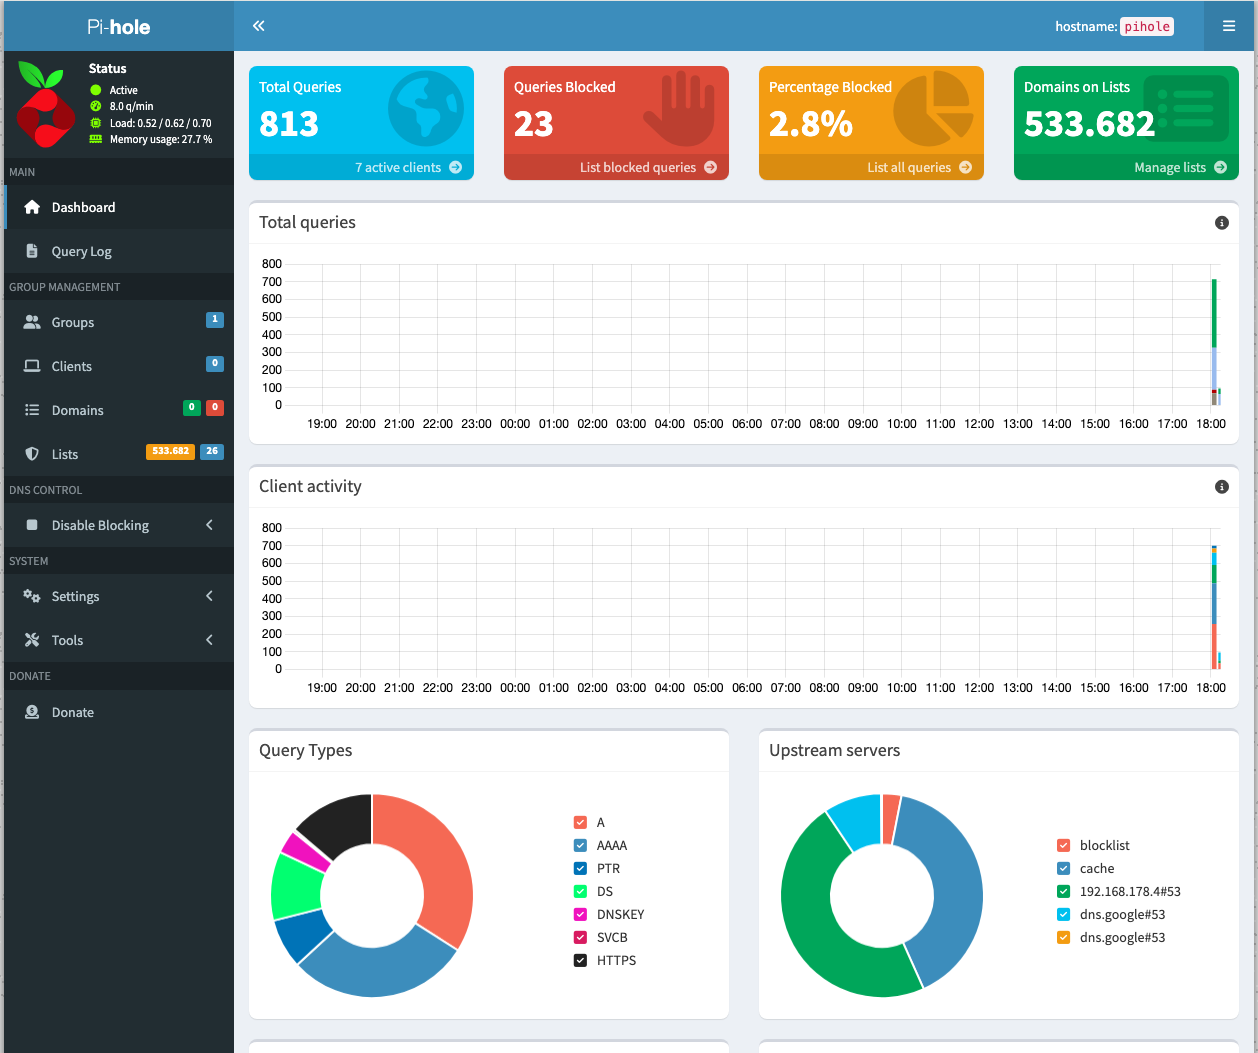 Pi-hole
Why I wanted this setup
Pi-hole provides network-wide ad and tracker blocking, while Unbound allows me to use a local recursive resolver instead of sending all DNS requests to a public upstream resolver such as Google or Cloudflare.
My goal was to use Pi-hole as the DNS server for my home lab. Pi-hole not only caches DNS entries but also blocks queries to hostnames associated with advertising, tracking, and malware.
The setup consists of:
- Pi-hole as the DNS frontend for clients.
- Unbound as the upstream recursive resolver.
- Both services running as containers on my Synology NAS.
- Deployment through Synology DSM → Container Manager → Project → YAML file.
Short Setup Guide
This is the shortened version of the deployment process:
- Open Synology DSM.
- Start Container Manager.
- Select Project.
- Create a new project.
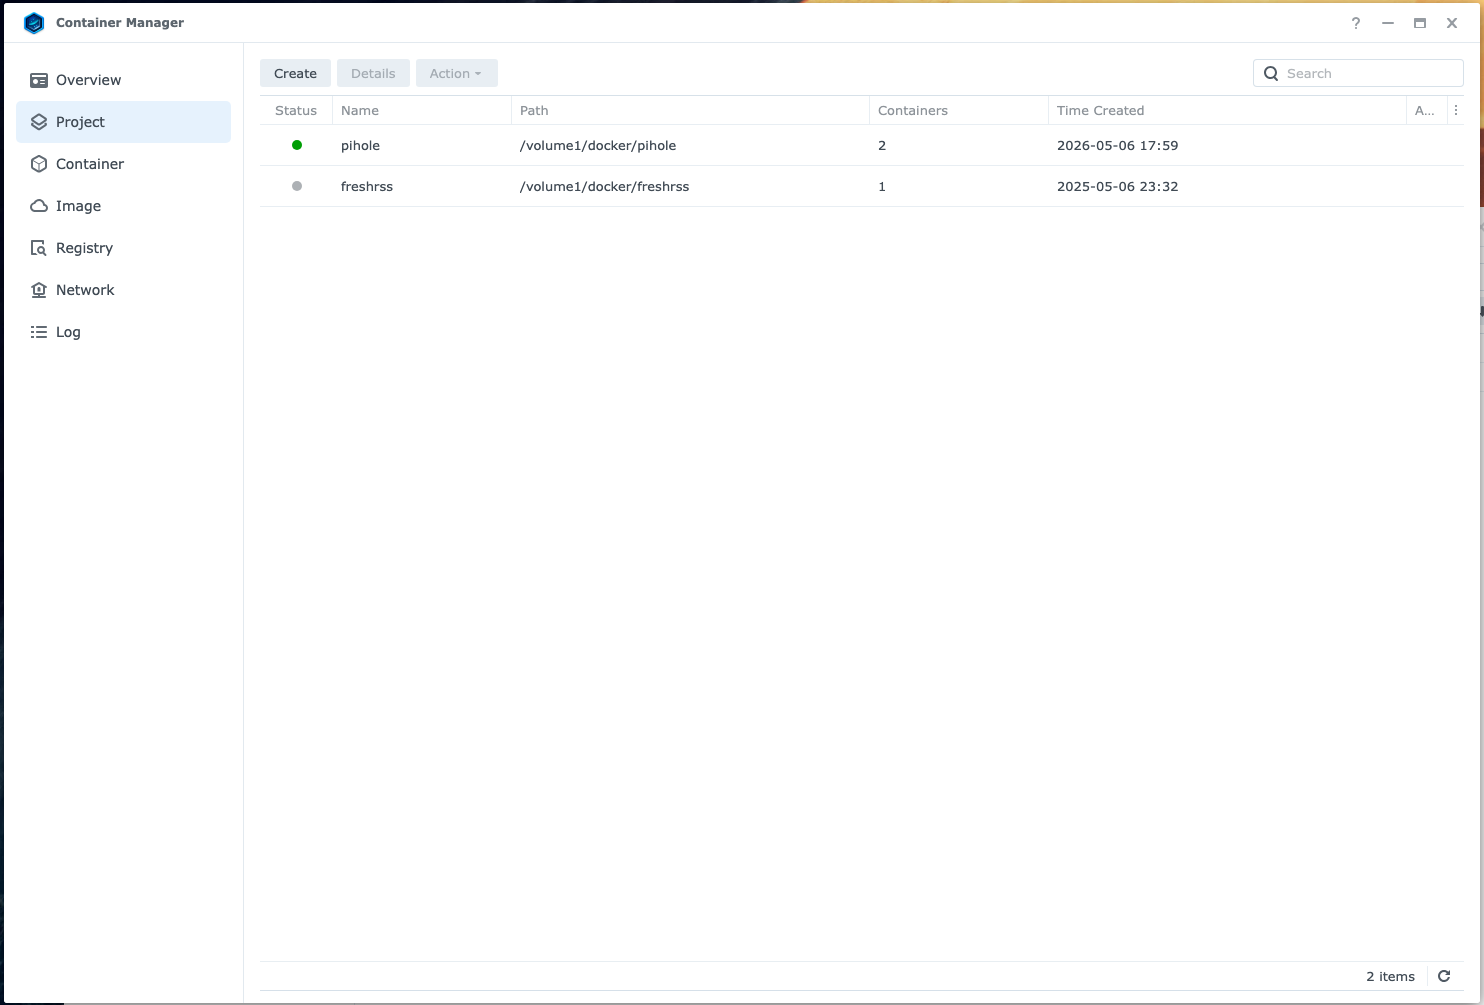 Container Manager
-
Paste or upload the Docker Compose YAML file.
You can download my sample Docker Compose file from GitHub.
Update the variables, including passwords and IP addresses, according to your environment.
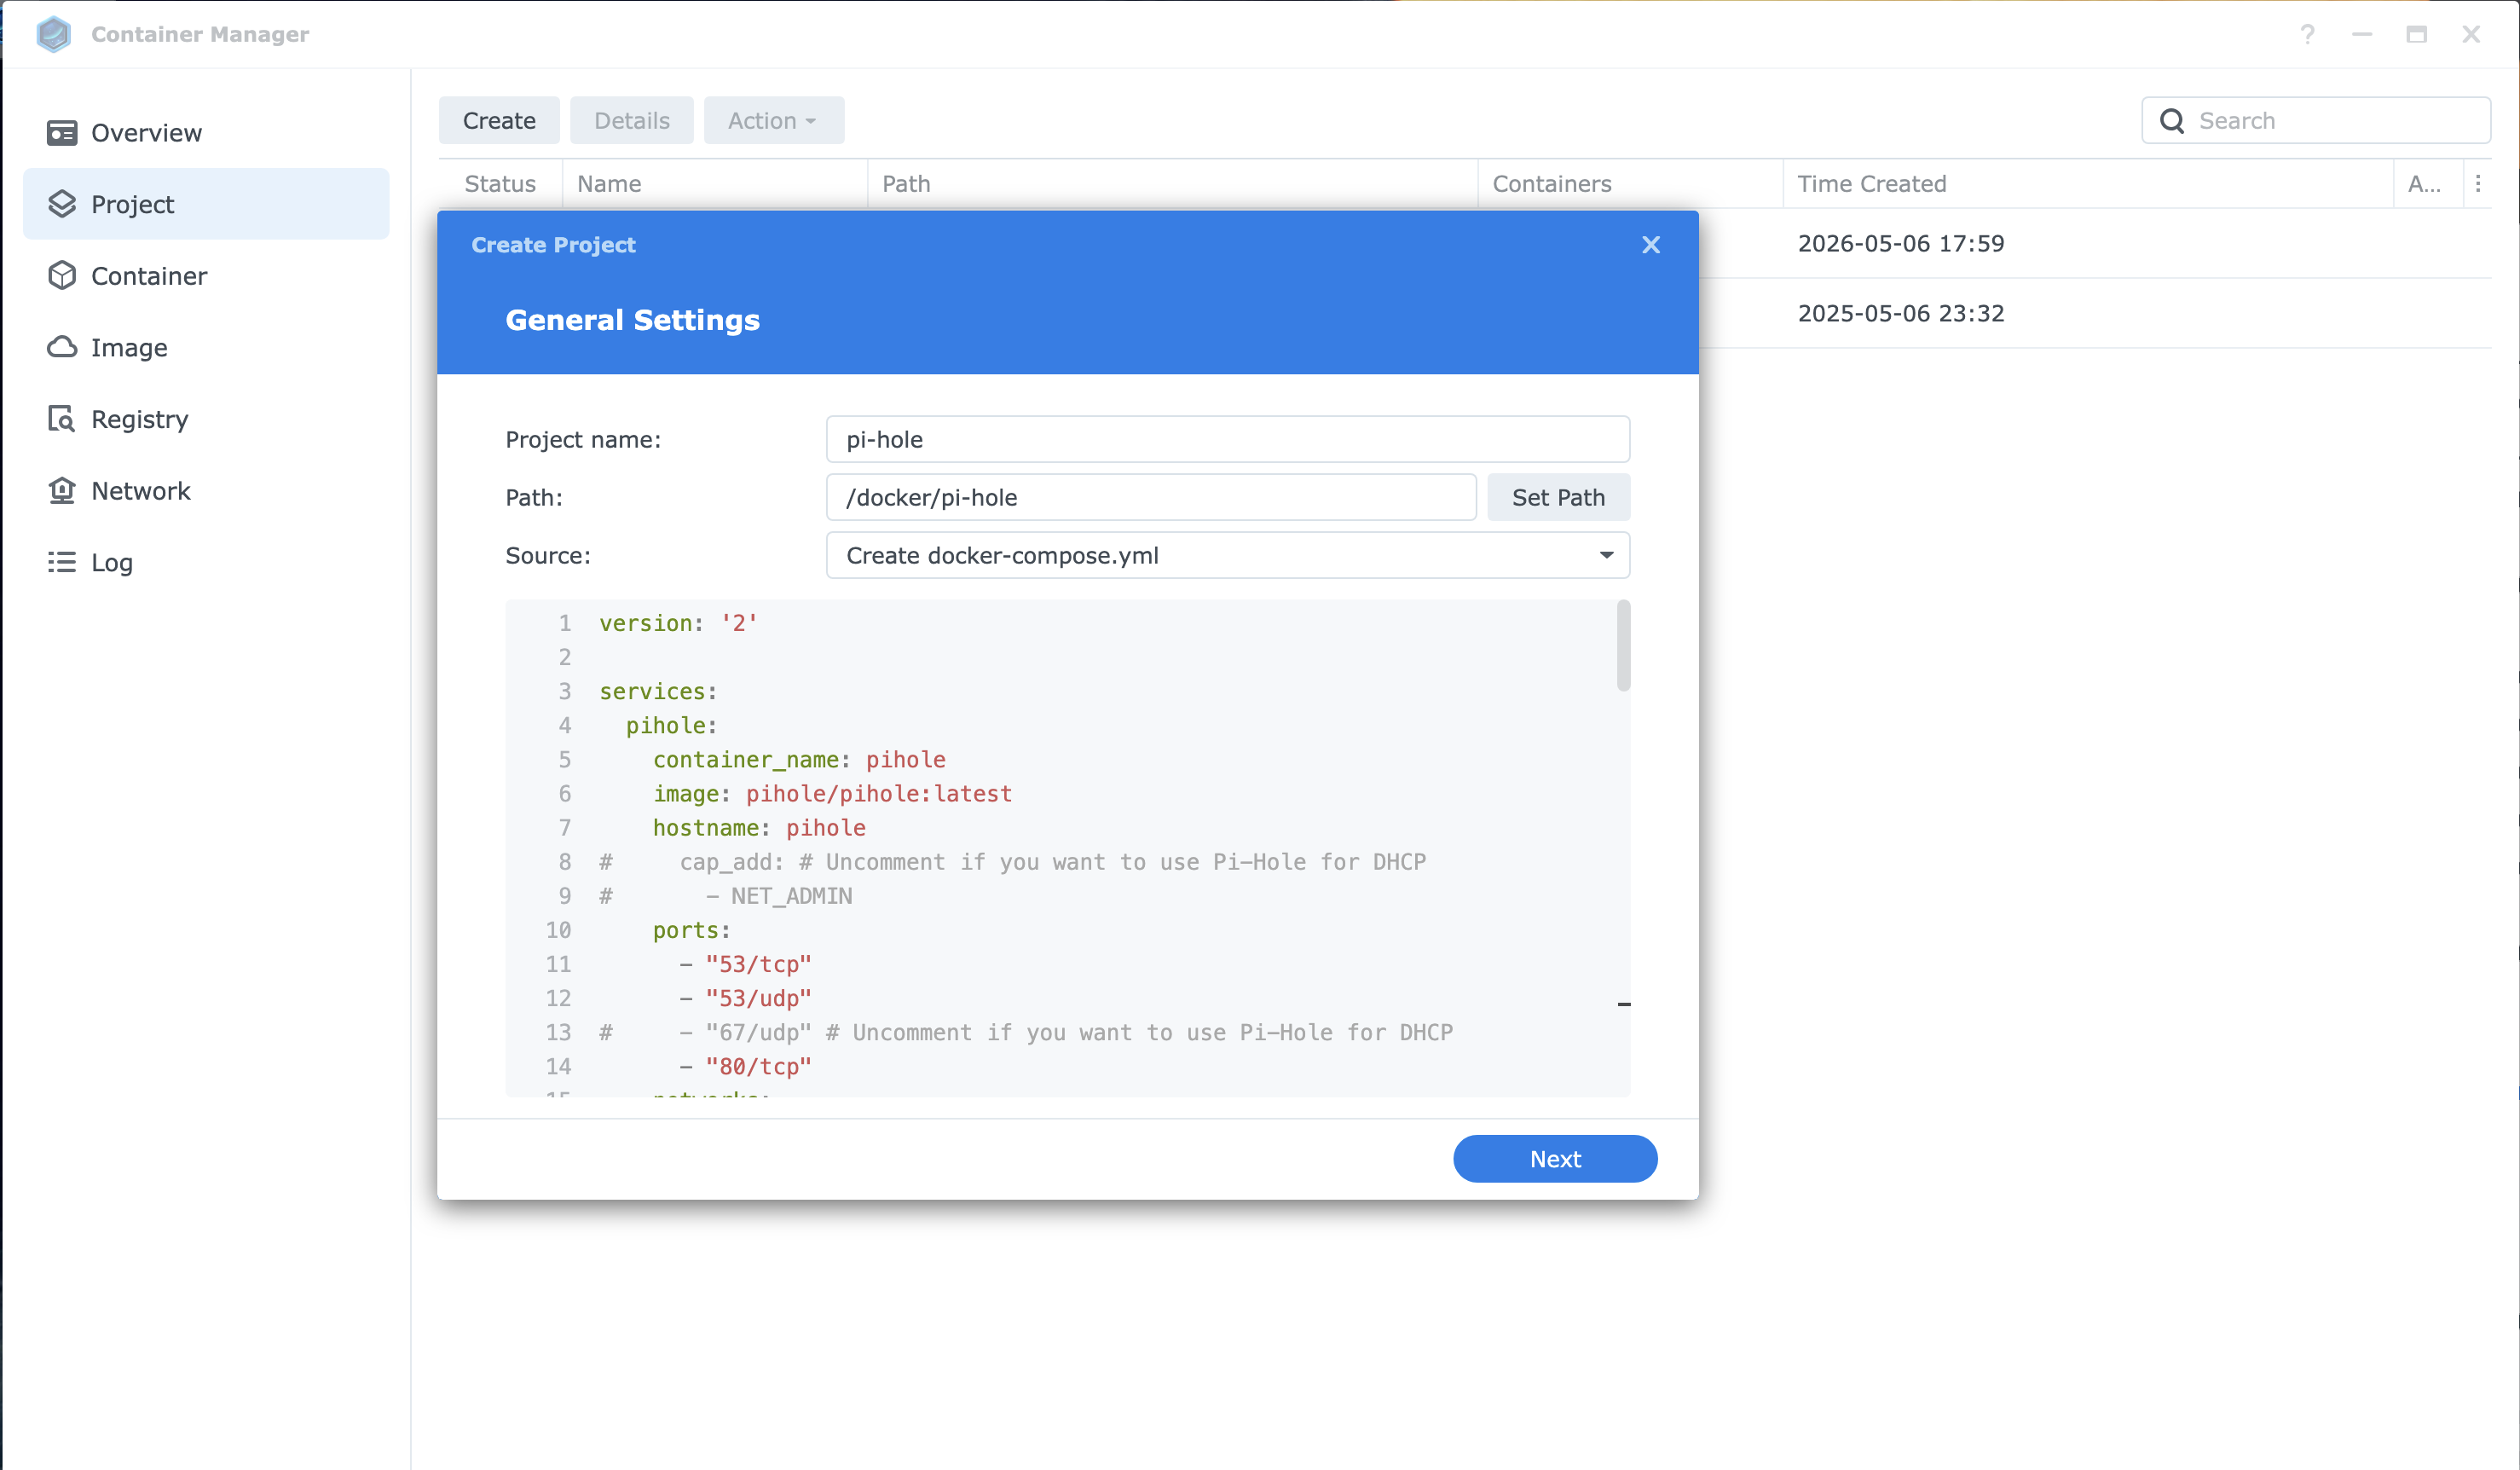 YAML file
- Deploy the stack.
- Confirm that both the Unbound and Pi-hole containers start successfully and that the Pi-hole web interface is reachable.
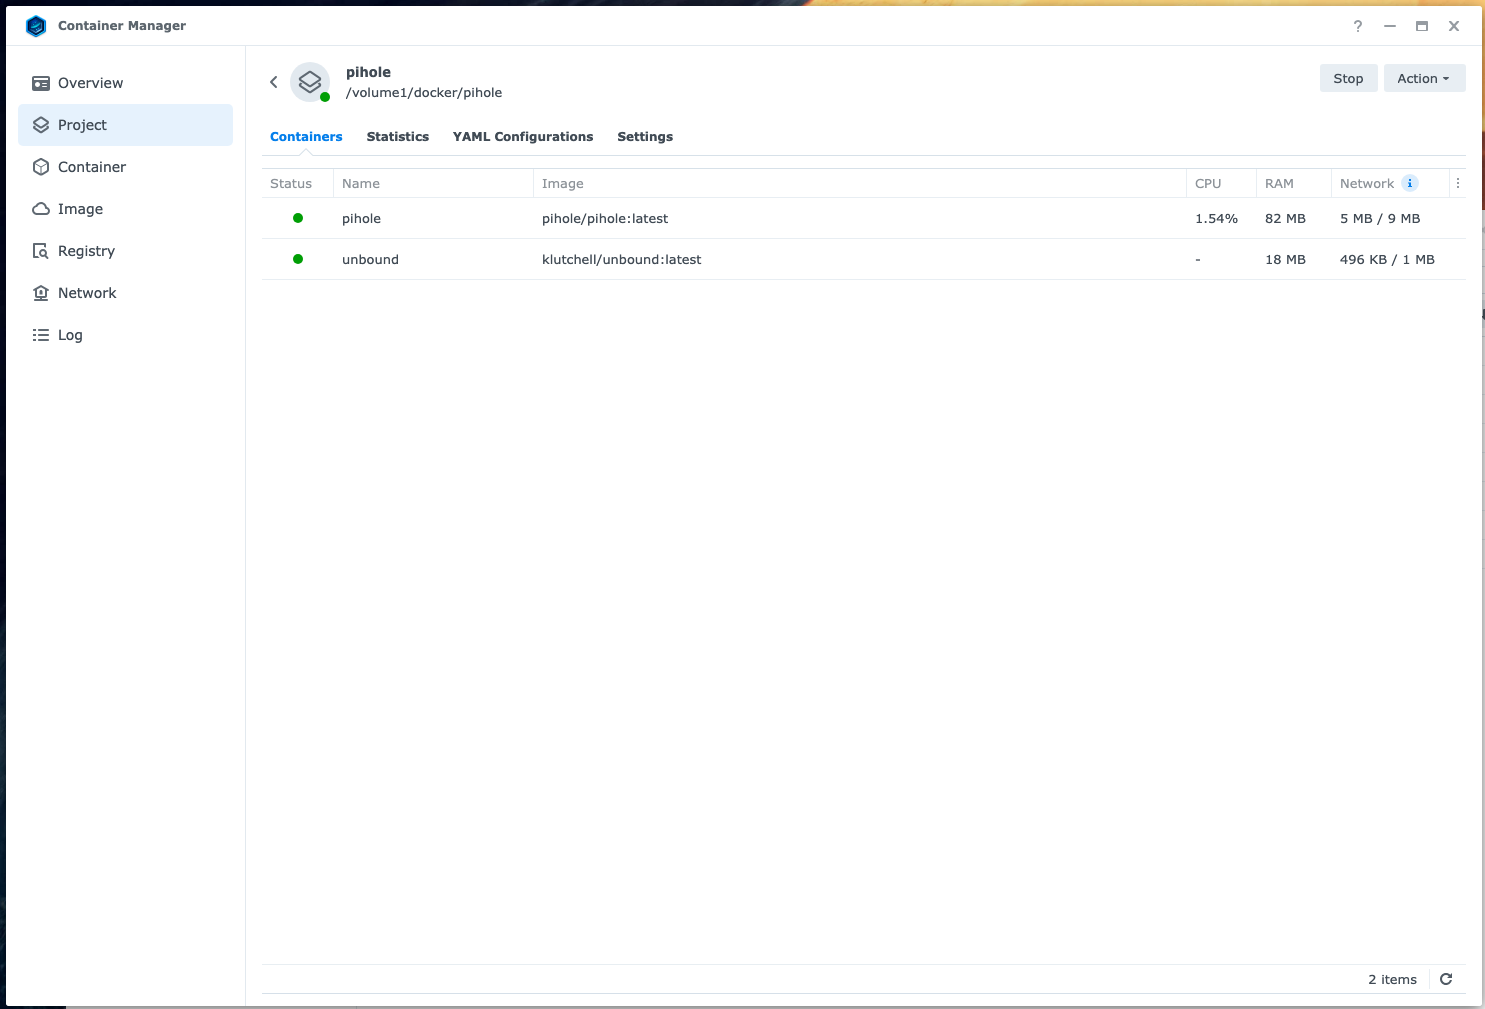 Both containers are running.
- Configure Pi-hole to use the Unbound container as its upstream DNS resolver.
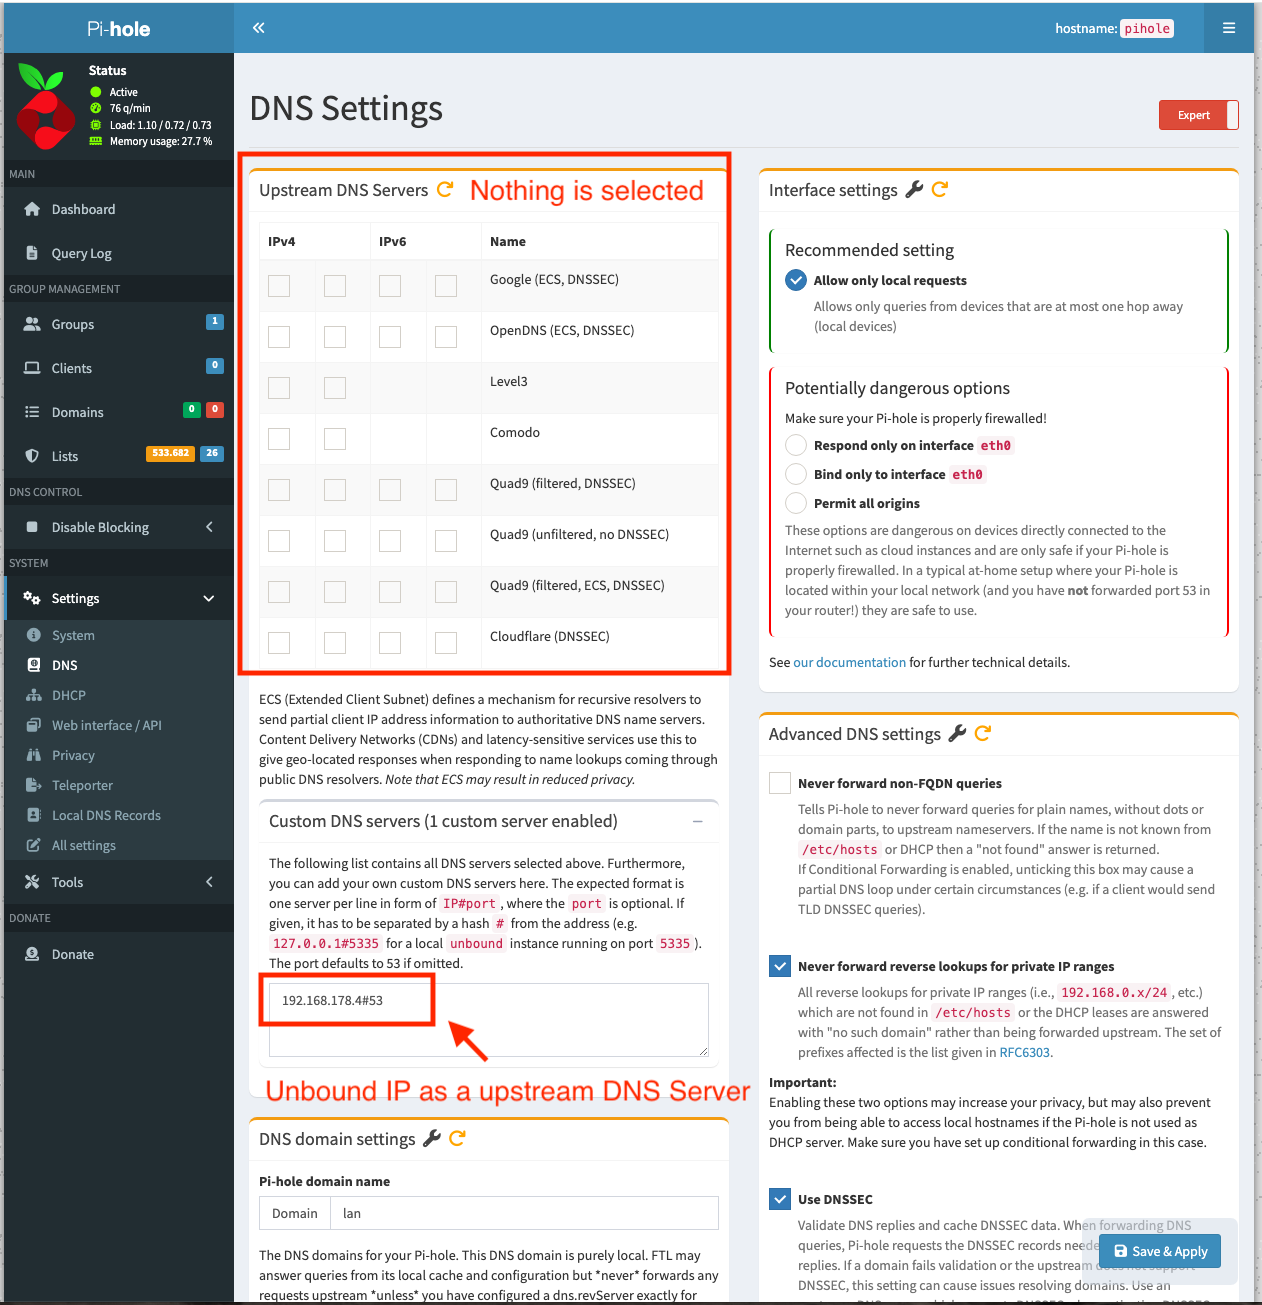 Unbound configured as the upstream DNS server.
- Test DNS resolution from a client.
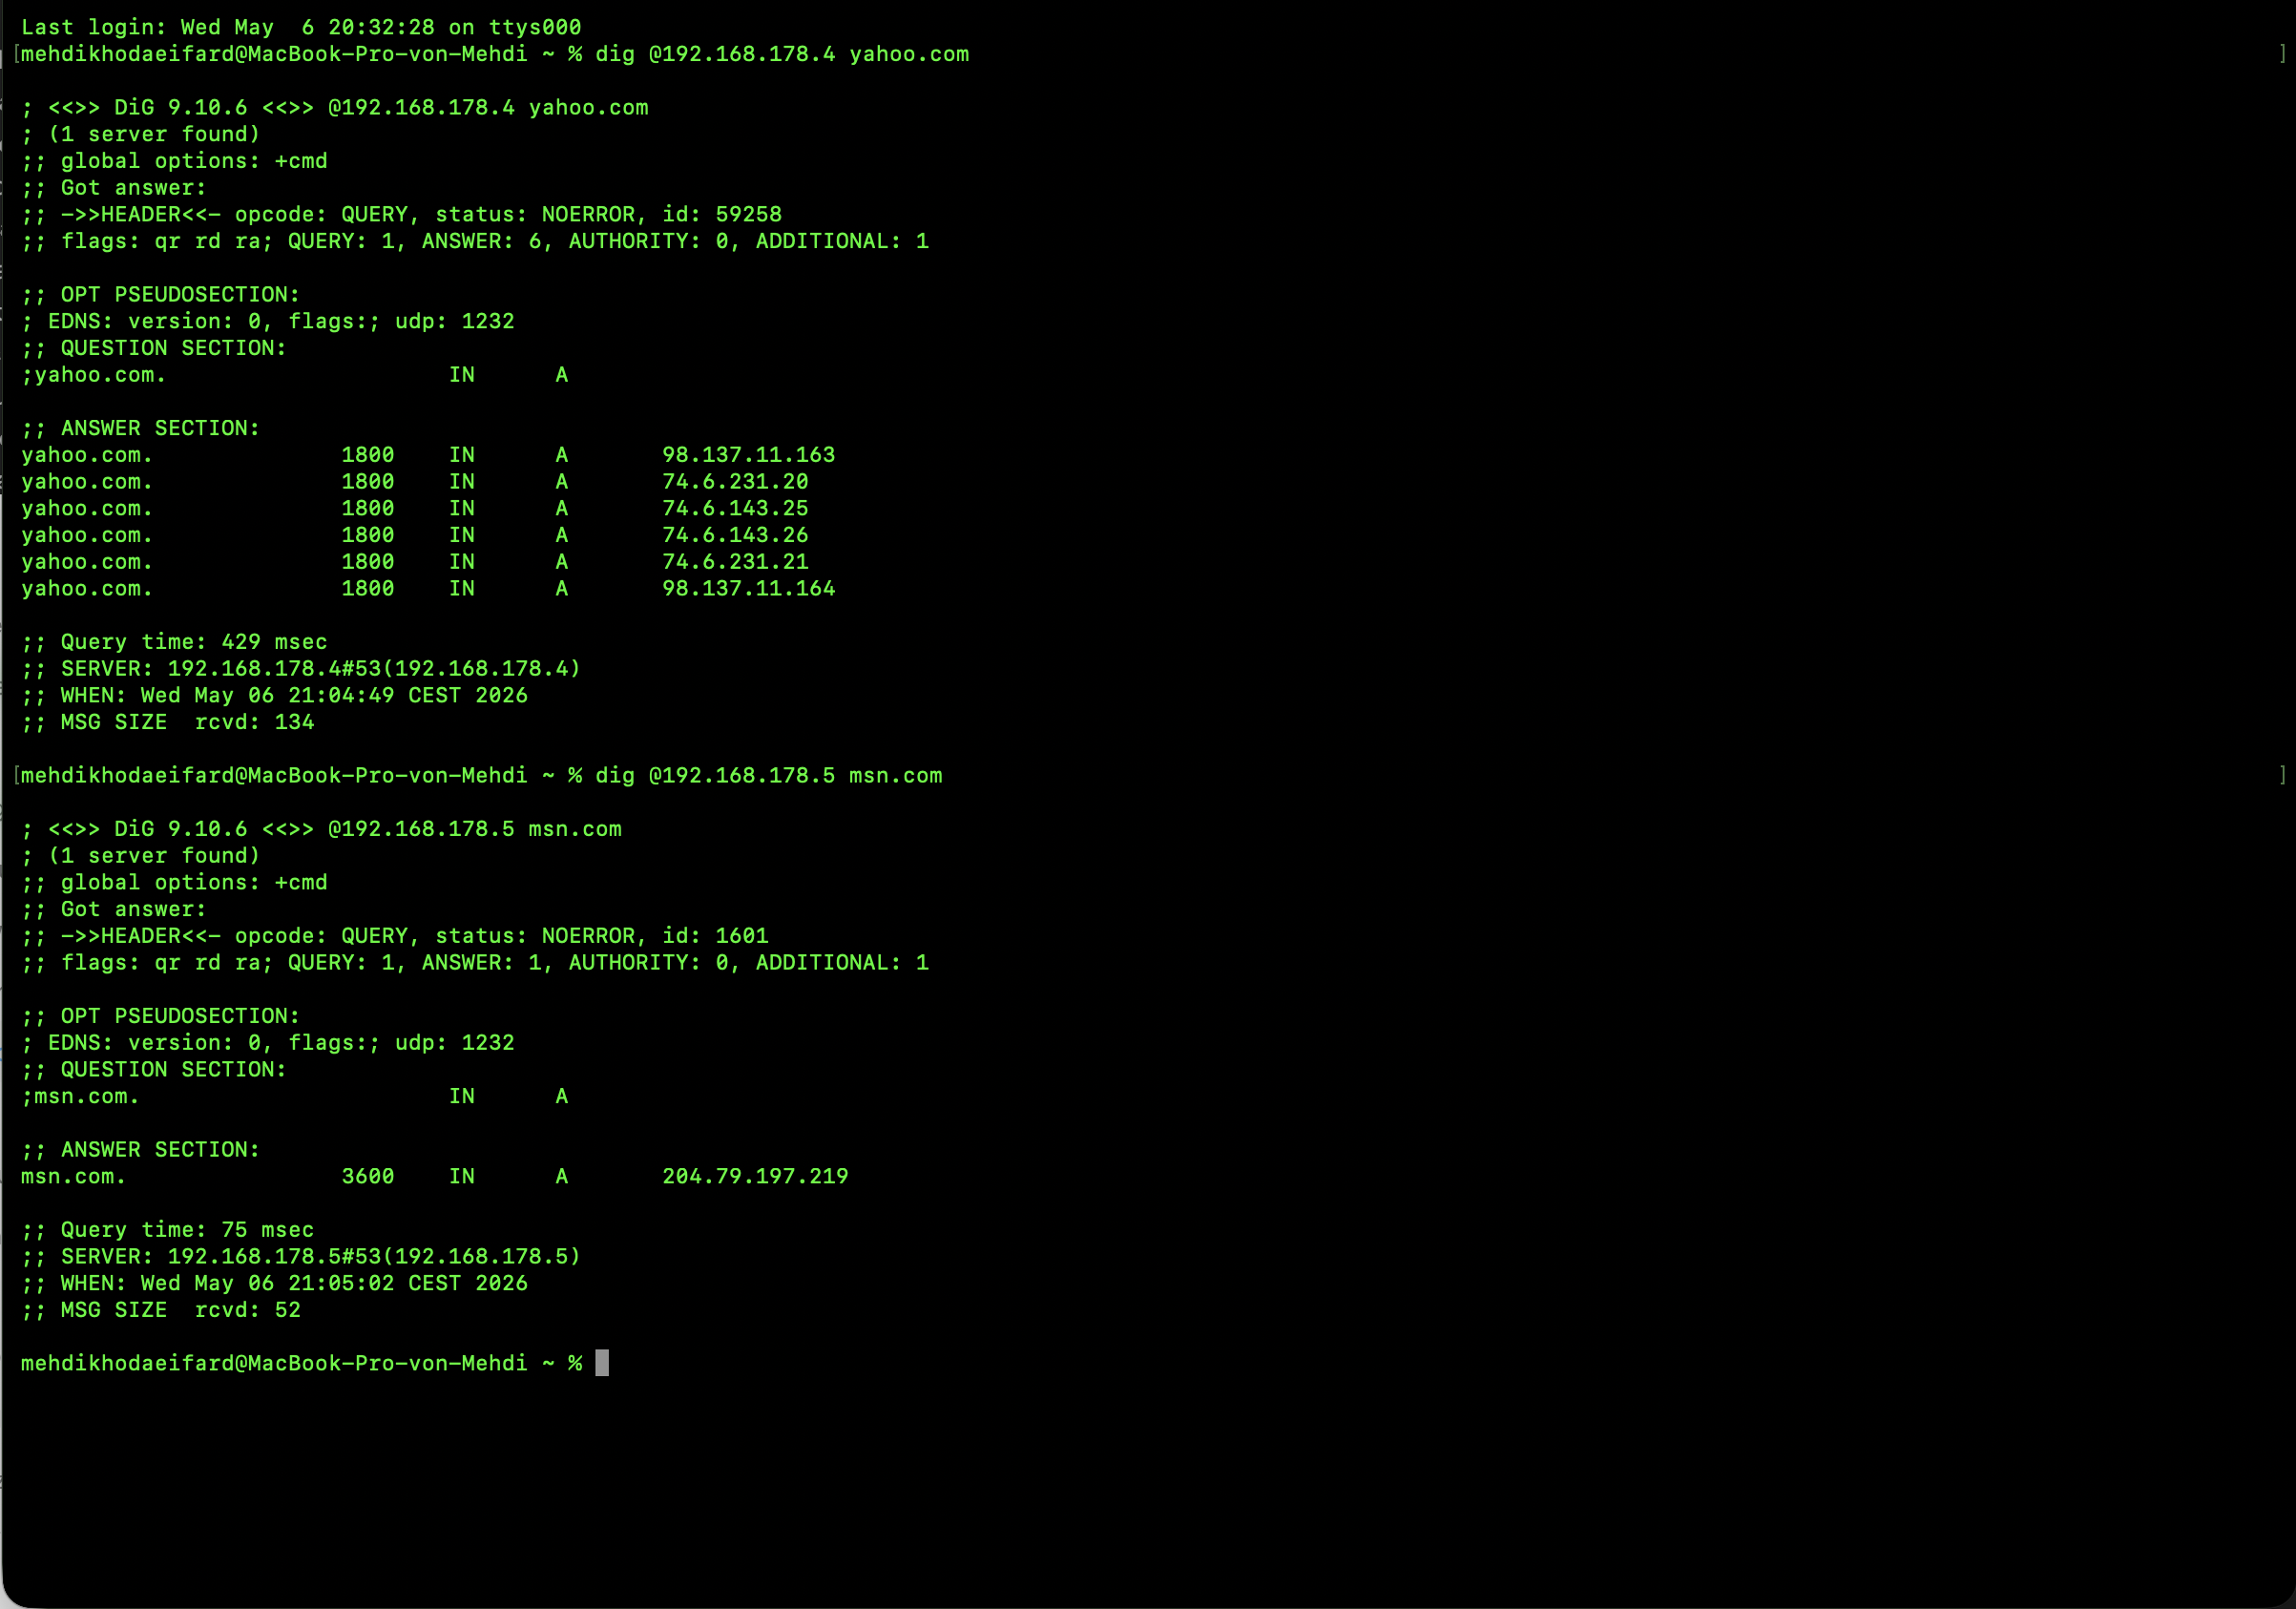 Unbound and Pi-hole are responding to DNS queries.
DNSSEC
I also wanted DNSSEC validation as part of the setup.
Because Unbound performs recursive lookups and validates DNS responses, Pi-hole does not need to perform DNSSEC validation separately in this configuration.
In practice, DNSSEC is handled at the resolver level, while Pi-hole focuses on filtering and logging. This keeps the configuration cleaner and avoids overlapping DNSSEC validation functions.
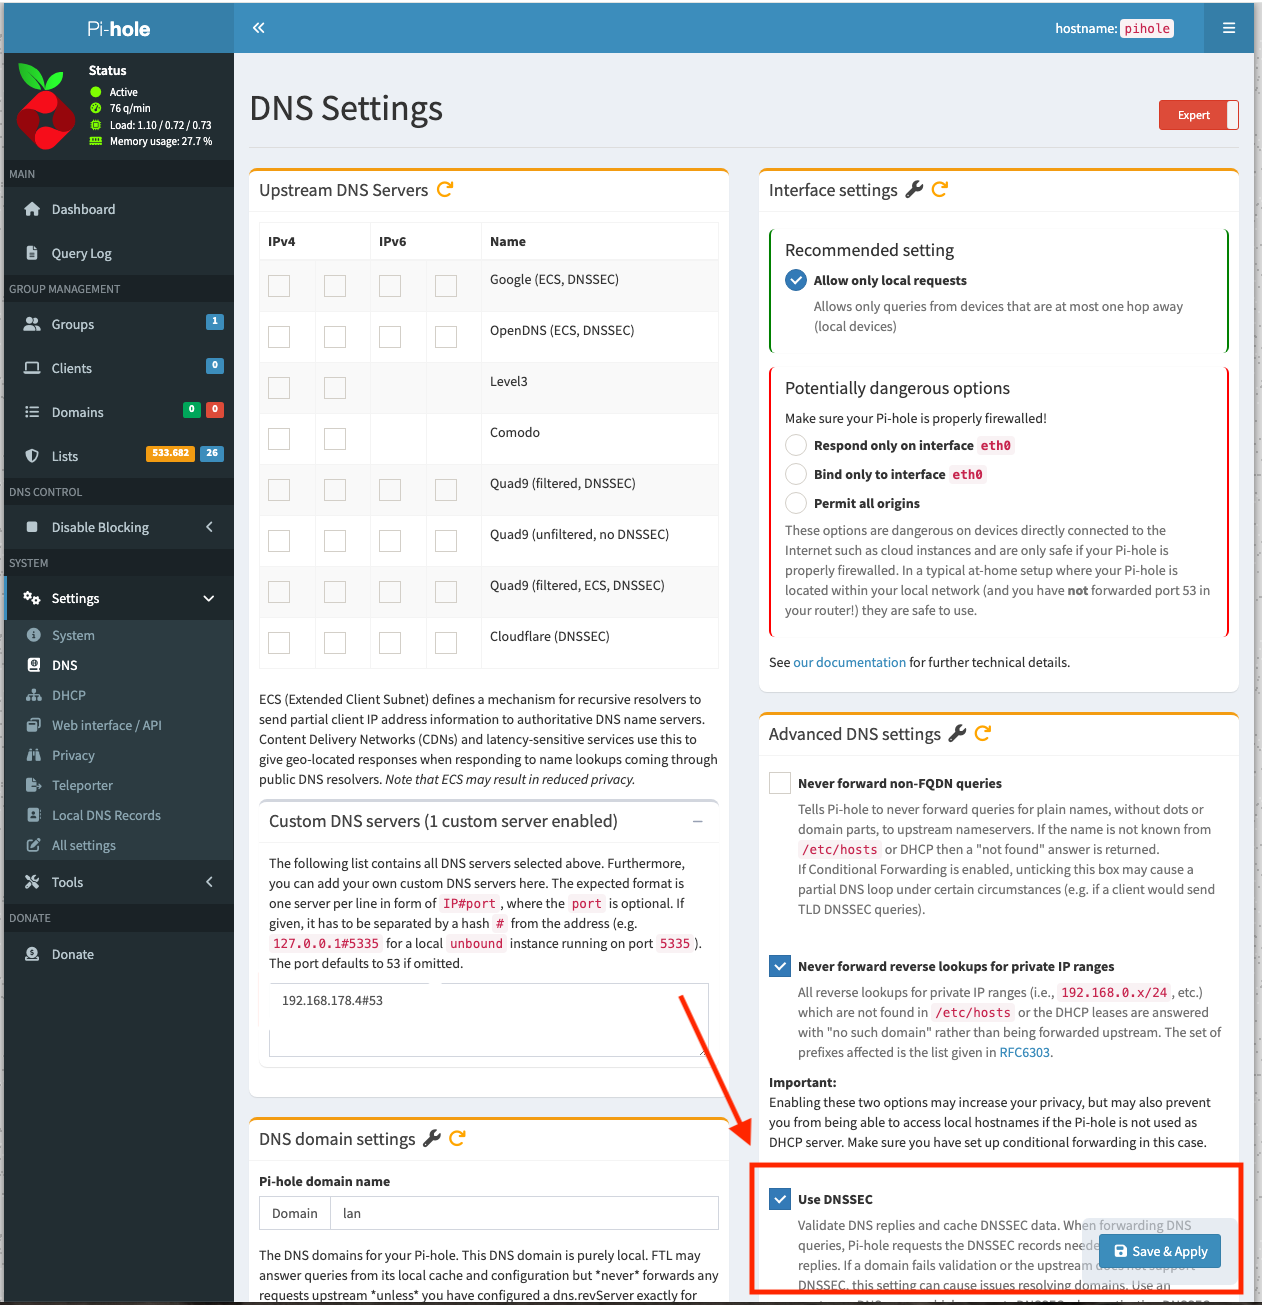 DNSSEC configuration.
Add Blocklists
The second important step was adding blocklists to Pi-hole.
Pi-hole uses its Gravity process to collect and process adlists. These lists are converted into blocked domains that can be applied across the network.
This provides most of Pi-hole’s blocking capability. After the blocklists have been added and Gravity has completed, Pi-hole can block requests to known advertising, tracking, and malware domains before they reach the client.
Choosing the right lists is also important. I chose the Firebog project, which provides lists in several categories, including:
- Suspicious domains.
- Advertising.
- Tracking and telemetry.
- Malicious domains.
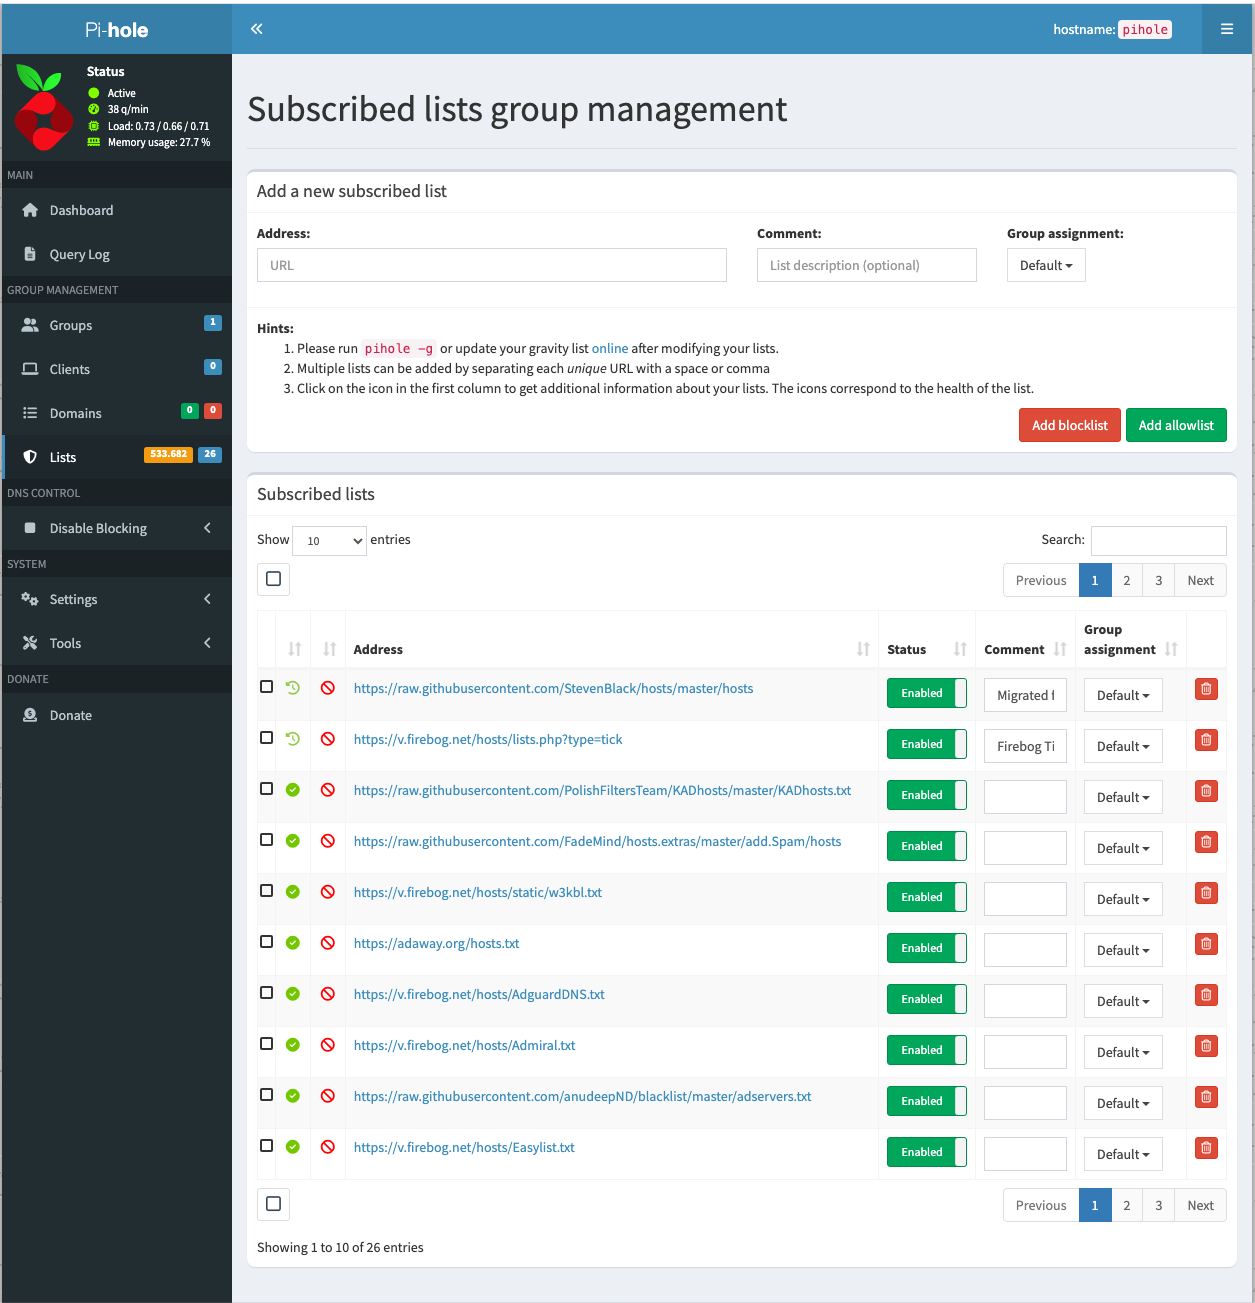 Blocklists.
My Initial Docker Compose Setup
I started with two services:
piholeunbound
Pi-hole received its own IP address, and the web interface was immediately reachable. I could ping the Pi-hole container and open the administration page without any problems.
The real trouble started with Unbound.
What Worked in the End
A few details were especially important.
Pi-hole v6 Password Setting
My first login problem was caused by using the old password variable:
1
WEBPASSWORD: "password123"
This did not work with the Pi-hole version I was running.
The solution was to use the newer variable:
1
FTLCONF_webserver_api_password: "password123"
After changing the variable, I was able to log in successfully.
Security recommendation: Do not use a simple password such as
password123in a production or internet-accessible environment. Use a long, unique password and store it securely.
The Unbound Image Was Important
The biggest problem was the Unbound container image.
I originally used:
1
image: mvance/unbound:latest
On my Synology NAS, this container repeatedly crashed.
After checking the logs and adjusting the configuration several times, I switched to:
1
image: klutchell/unbound
That image started successfully and remained running.
Problems I Encountered
The setup was not completely plug-and-play. The main problem was related to missing configuration files.
Missing Include Files in unbound.conf
The first Unbound logs showed that the configuration attempted to load files that did not exist, including:
a-records.confsrv-records.confforward-records.conf
This caused Unbound to stop immediately.
The lesson was simple: if unbound.conf includes additional configuration files, those files must exist in the expected directory and must be correctly mounted into the container.
Practical Tips
Keep the Initial Setup Simple
Start with the smallest working configuration:
- One Pi-hole container.
- One Unbound container.
- One known-good Compose file.
- A minimal Unbound configuration.
Avoid adding extra records, custom include files, advanced DNS settings, or unnecessary logging rules until the basic setup is working.
Read Container Logs Early
If a container stops, check its logs immediately. In my case, the logs helped identify whether the problem was related to:
- A missing file.
- A syntax error.
- A container image issue.
- A runtime or networking problem.
Reading the logs saved significantly more time than trying to guess the cause.
Watch for Version-Specific Settings
Version-specific settings are especially important with Pi-hole.
A variable that worked in older guides or blog posts might not be valid for the current version. This was exactly what happened with the web password variable.
Always check the documentation for the version you are deploying.
Test One Component at a Time
When multiple problems occur at once, troubleshoot them separately:
- Confirm that the container starts.
- Confirm that the container remains running.
- Test network connectivity.
- Test the application login.
- Verify DNS resolution.
- Confirm that Pi-hole is forwarding requests to Unbound.
This order makes troubleshooting much easier.
Verify That Pi-hole Uses Unbound
After everything is running, verify the complete DNS chain:
- Confirm that Pi-hole is configured to use the Unbound container IP address as its upstream DNS server.
- Run a DNS lookup against Pi-hole from a client.
- Check the Pi-hole query log while Unbound is running.
- Confirm that the query is forwarded to Unbound.
- Optionally stop the Unbound container and verify that recursive resolution through that upstream resolver stops.
Stopping Unbound temporarily provides a practical test that Pi-hole is actually using it instead of another configured DNS server.
This setup gives me a local DNS filtering and recursive-resolution stack running entirely on my Synology NAS.