Add New Disk and Partition to Your Linux Server
Today I would like to share with you very easy steps to add a new disk to your existing Linux server which often requires.
In this post, I would like to talk about local disk and in another post, I will talk about NFS partitions and how to add them into your Linux box.
Current partition status:
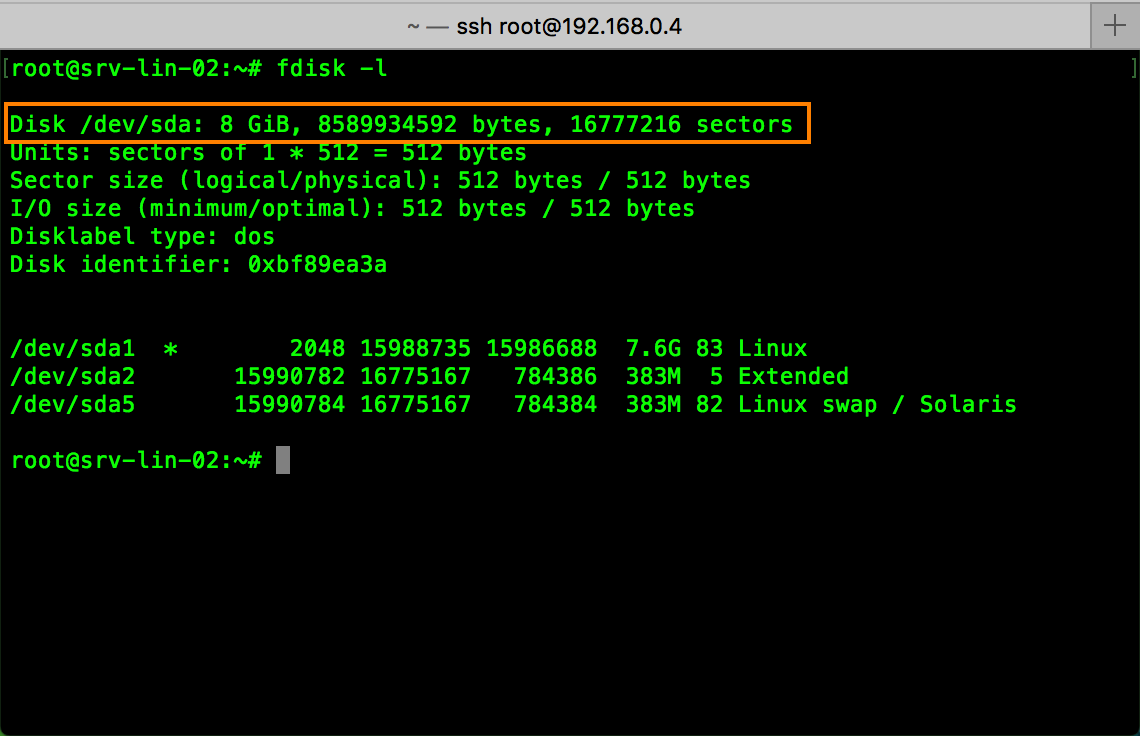
Okay, if you would like to see what is your box partitions status you can find out with the command:
fdisk -l
fdisk
Here I would like to give you brief info about Linux naming convention that you can understand exactly what is going on. Here we are talking about local hard drive which is physically added to your system. Here you find very good article with good explanation.
dev/fd0: First floppy disk drive
dev/fd1: Second floppy disk drive
dev/sda: First Small Computer System Interface (SCSI) disk
dev/sda1: Partition 1 - First Small Computer System Interface (SCSI) disk
dev/sda2: Partition 2 - First Small Computer System Interface (SCSI) disk
dev/sdb: Second SCSI disk address-wise and so on
dev/scd0 or /dev/sr0: First SCSI CD-ROM
dev/hda: Primary disk on the Integrated Drive Electronics (IDE) primary controller
dev/hdb: Secondary disk on IDE primary controller
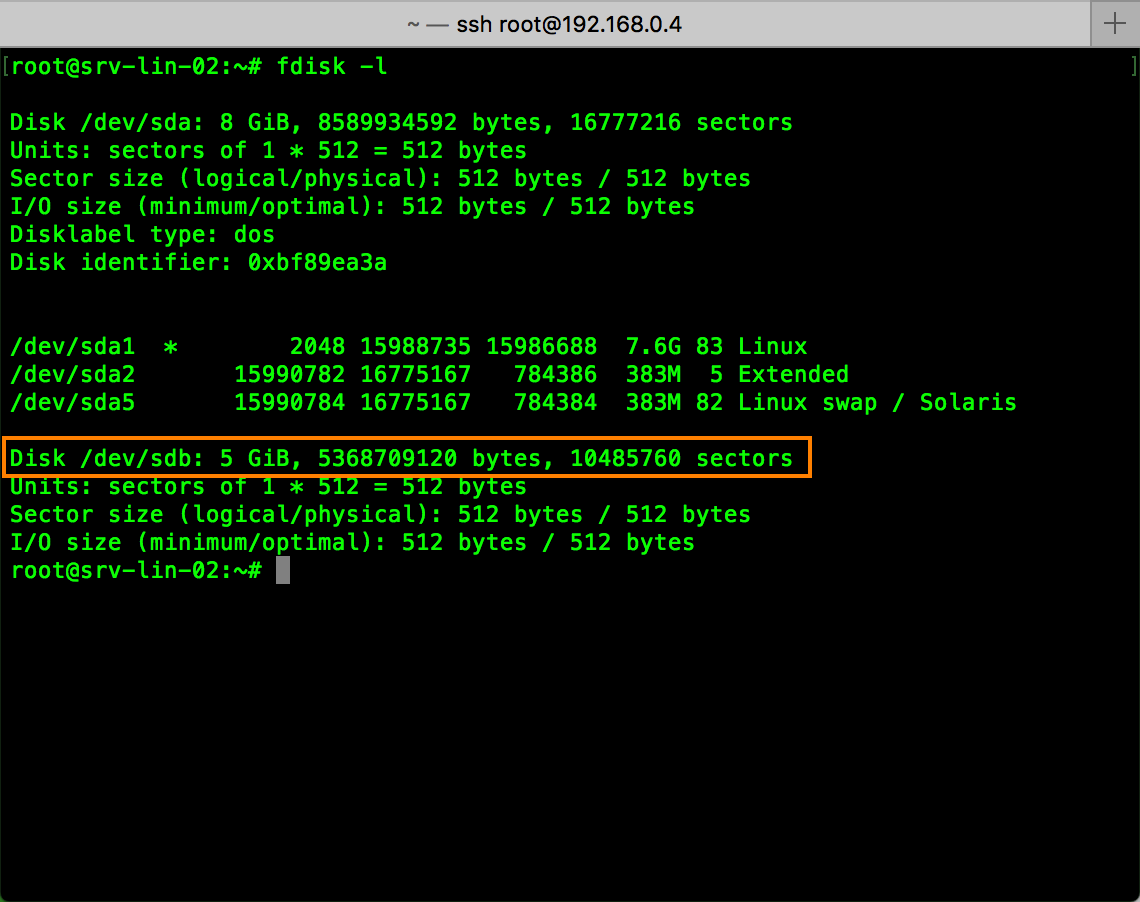
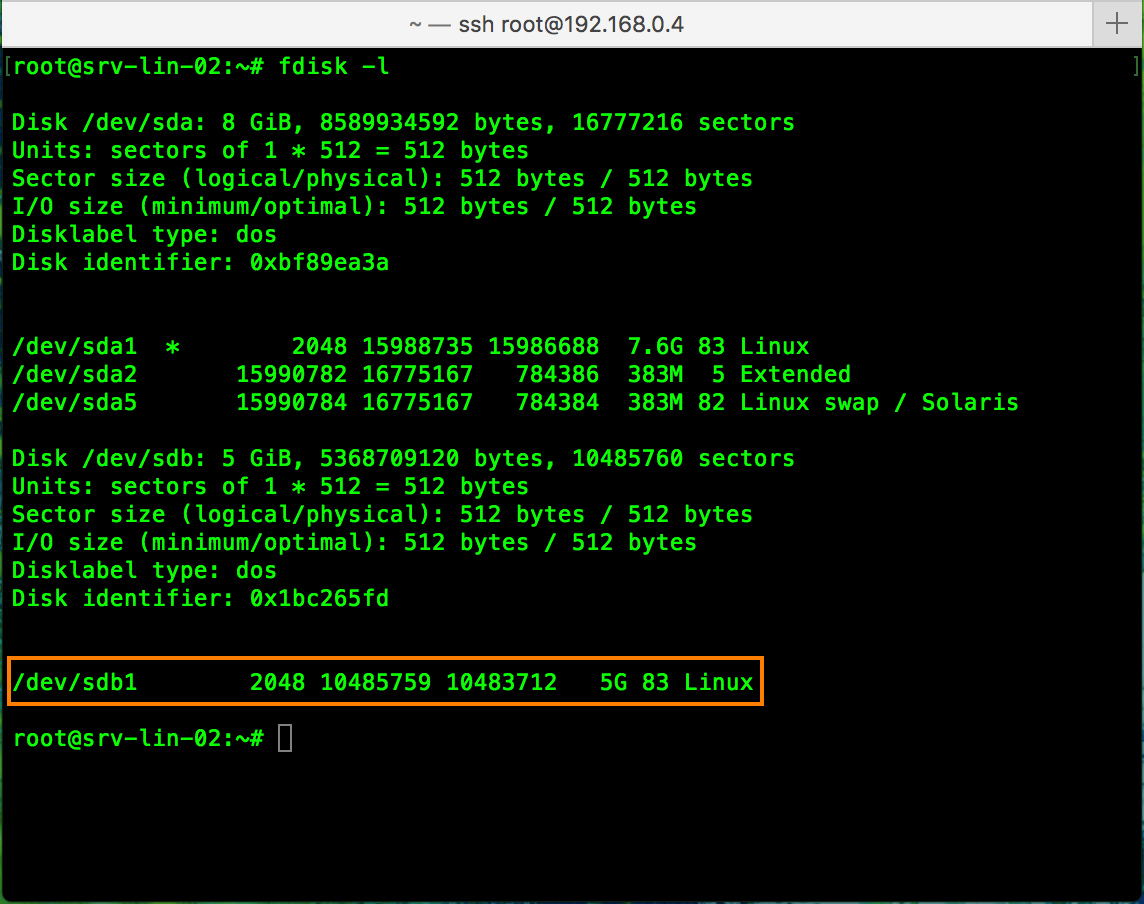
So, I have 1 SATA drive with 3 partitions (system partition) 8GB and would like to add another 5 GB drive and again run command to see the status after adding disk.
fdisk
Create a new partition:
Okay, now you see Linux box recognize the new disk 5 GB under /dev/sdb. Now we have to create a new partition on the new disk:
cfdisk /dev/sdb
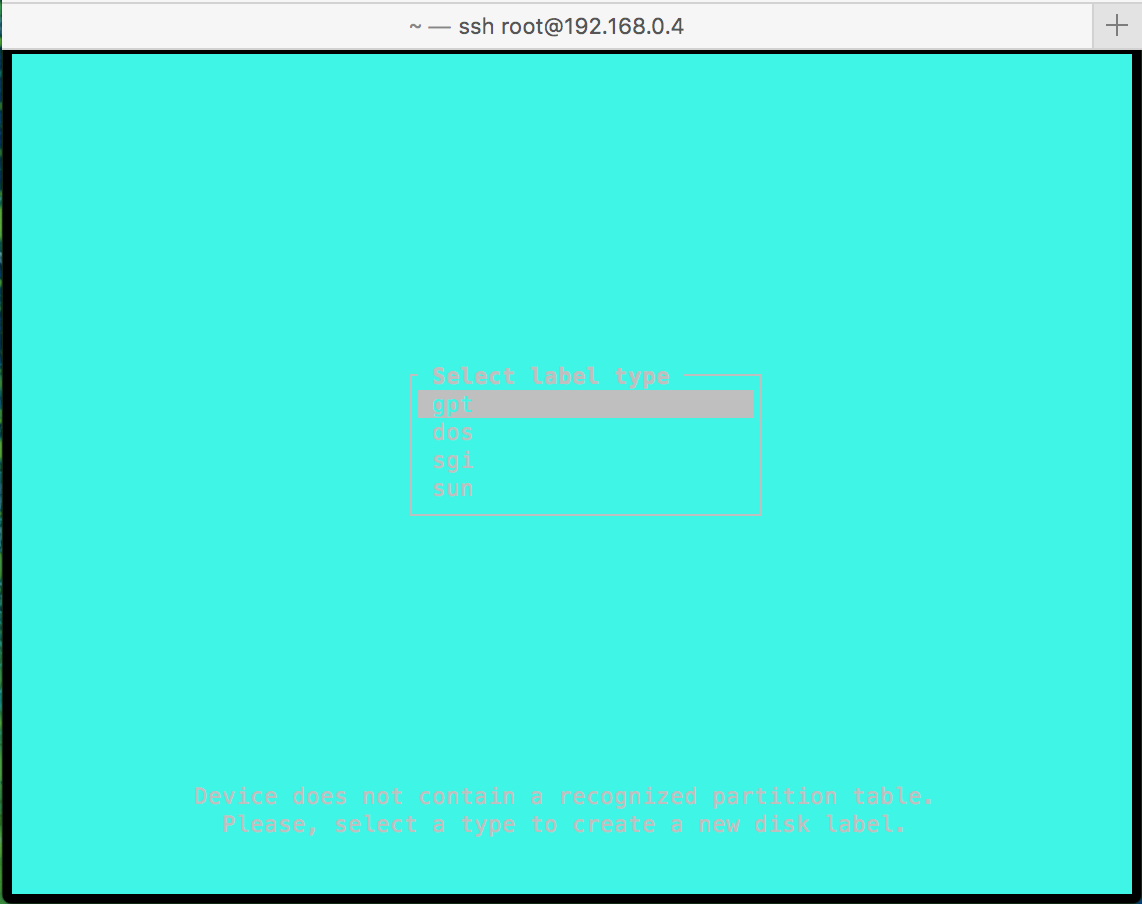
select label type
Select dos
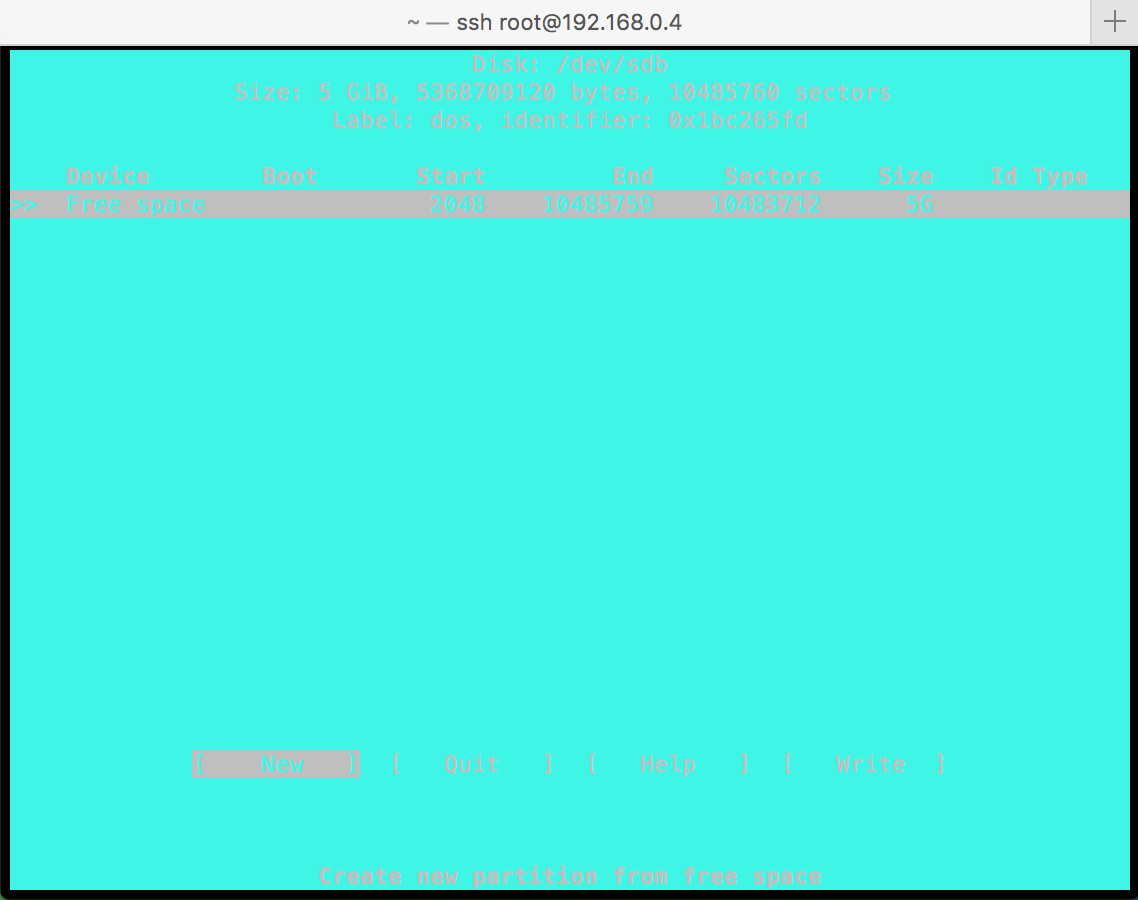
select new
Select new to create new partition
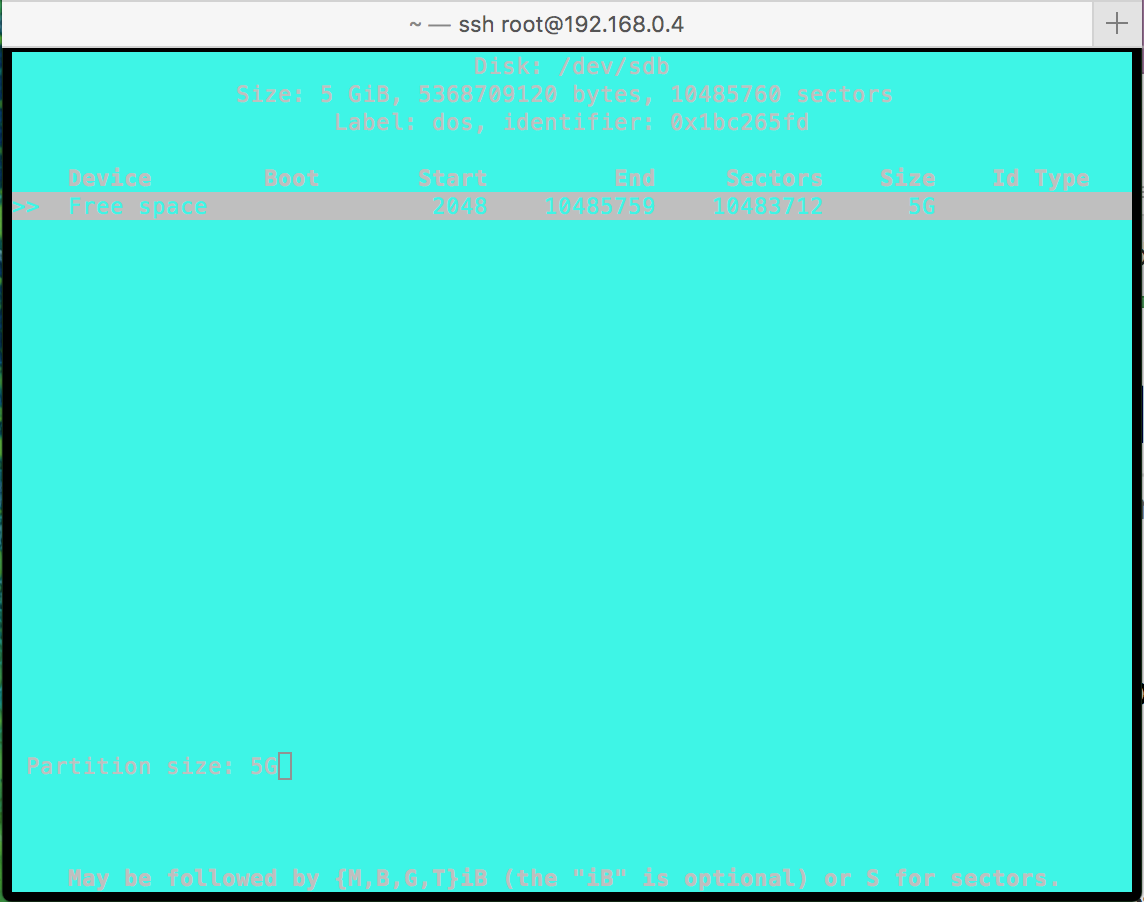
use all 5GB for new partition
Define the size of the partition, I use all 5 GB for this demo.
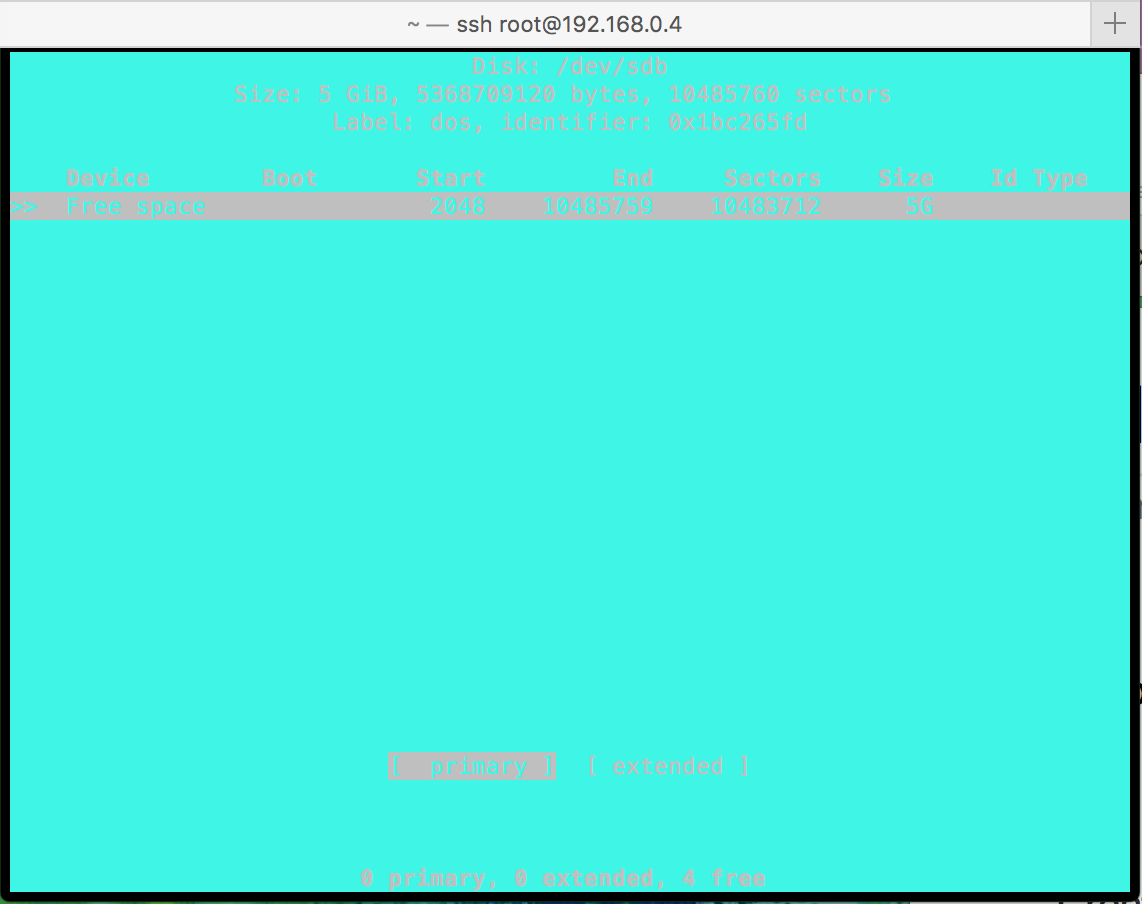
primary partition
We need a primary disk.
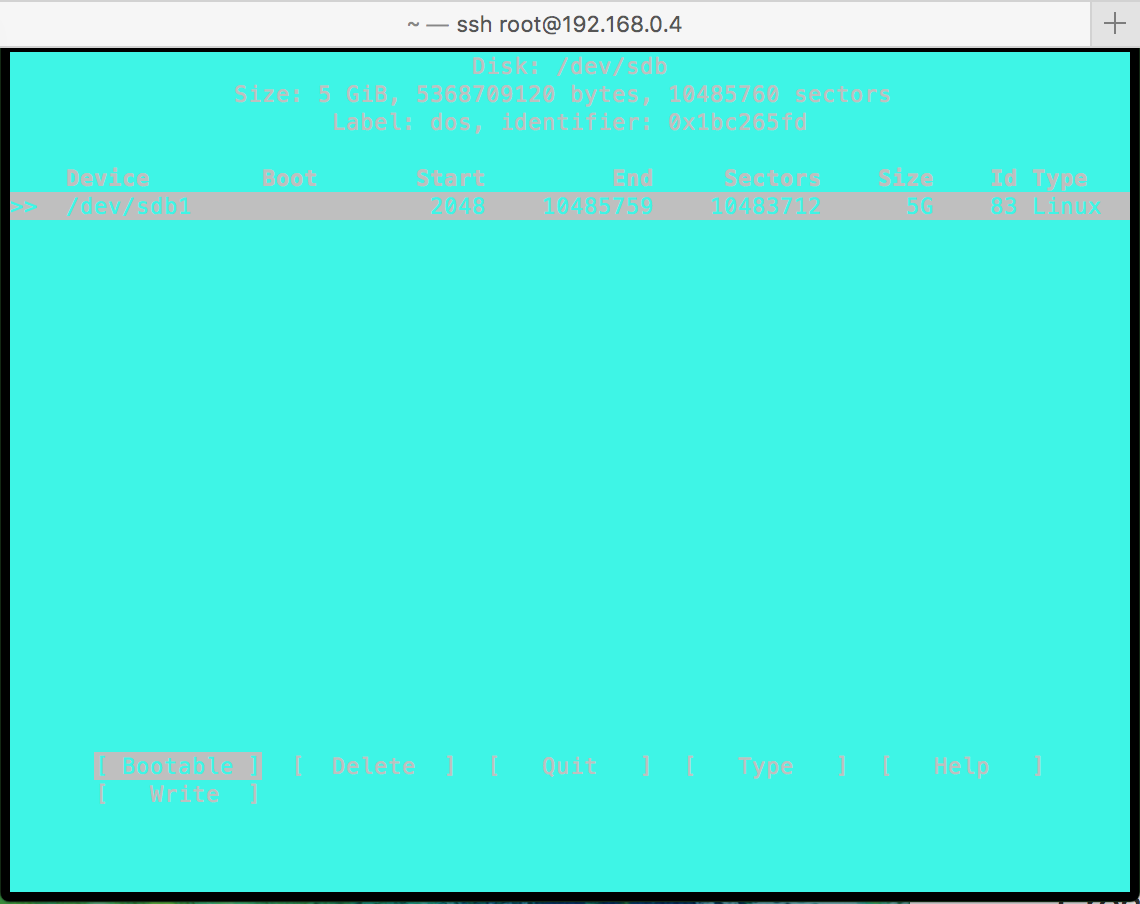
select write
Now we see that our new partition called sdb1 and will be located under /dev. Select write and then type YES for confirming.
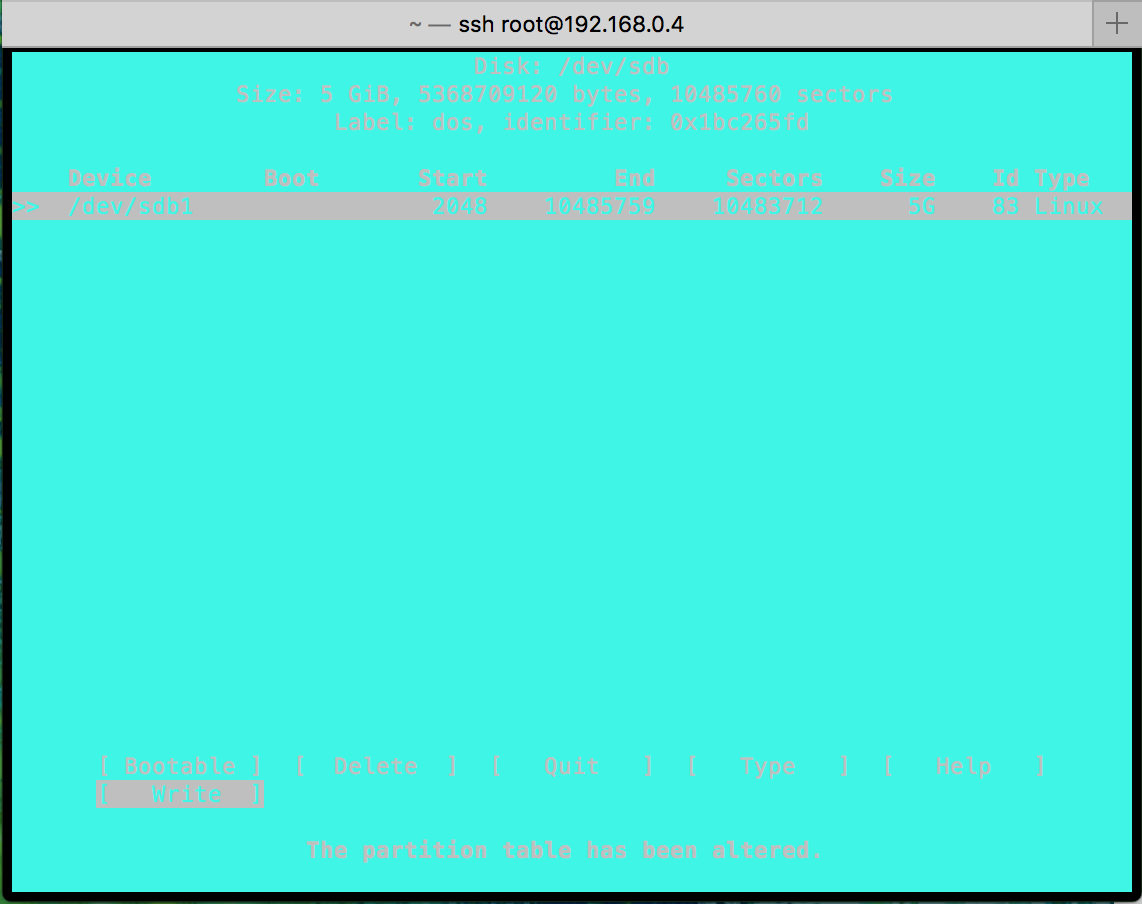
the partition has been created
Partition has been created and you need to select quit to quit from partition editor ( cfdisk). If we run the command to see the partition detail now, we will see that the partition has been created and named sdb1 and ready to be formatted.
new 5GB partition
Format the new disk:
Time to format the new partition using the ext4 file system. You can read more about ext4 file system here. Also, you can read highlight difference between Linux file systems here. I go ahead and format the partition with the command:
mkfs.ext4 /dev/sdb1

format new partition
Mount new disk:
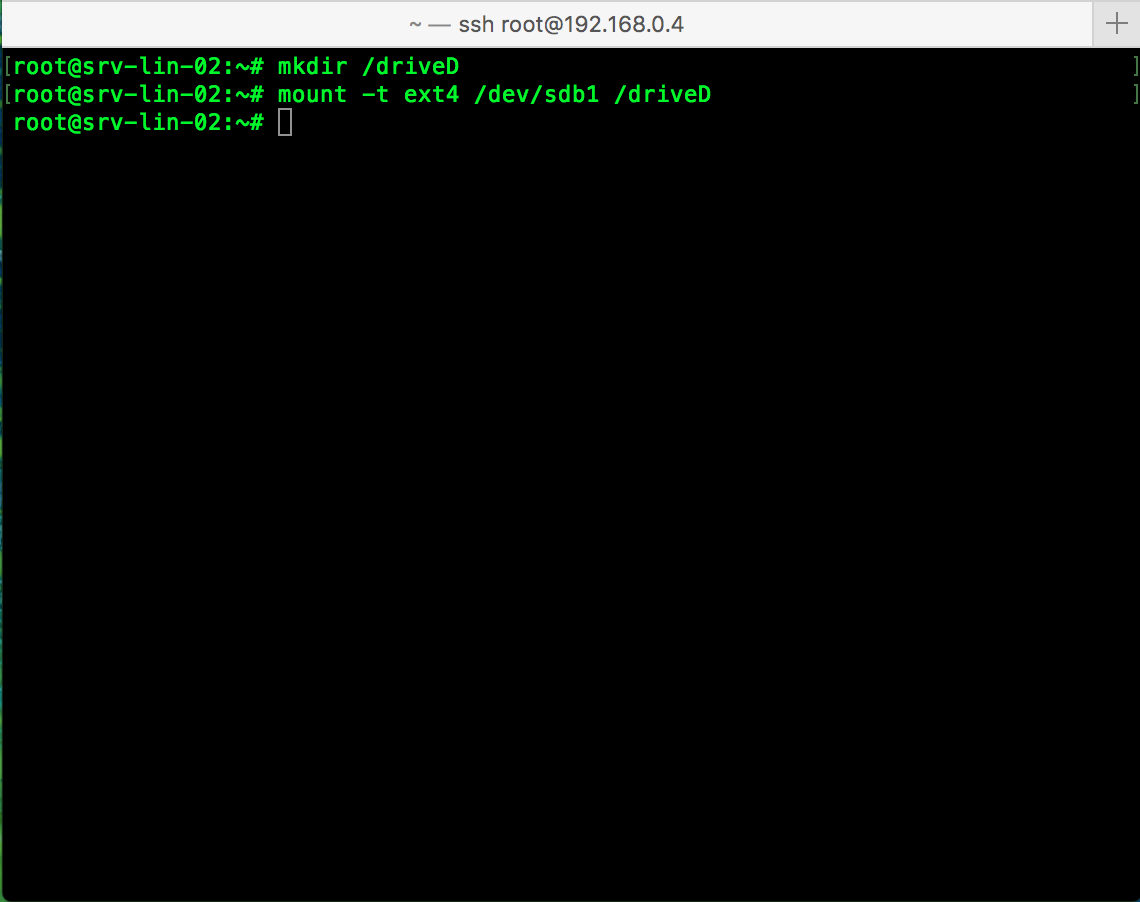
After formatting partition, before you can access to the partition you have to mount the new partition to the folder. This is the Linux way! But not a big deal. So, simple. Use following commands to first create a directory and then mount the new disk to this directory. You are free to use whatever name you want. But based on predefined standard make it easier to understand which one is which one.
mkdir /driveD
mount -t ext4 /dev/sdb1 /driveD
Almost done, now we can see all mounted disks to make sure we have access to this disk. I have created a directory called test under the new disk. All commands you need:
df -h
cd /driveD
ls
mkdir test
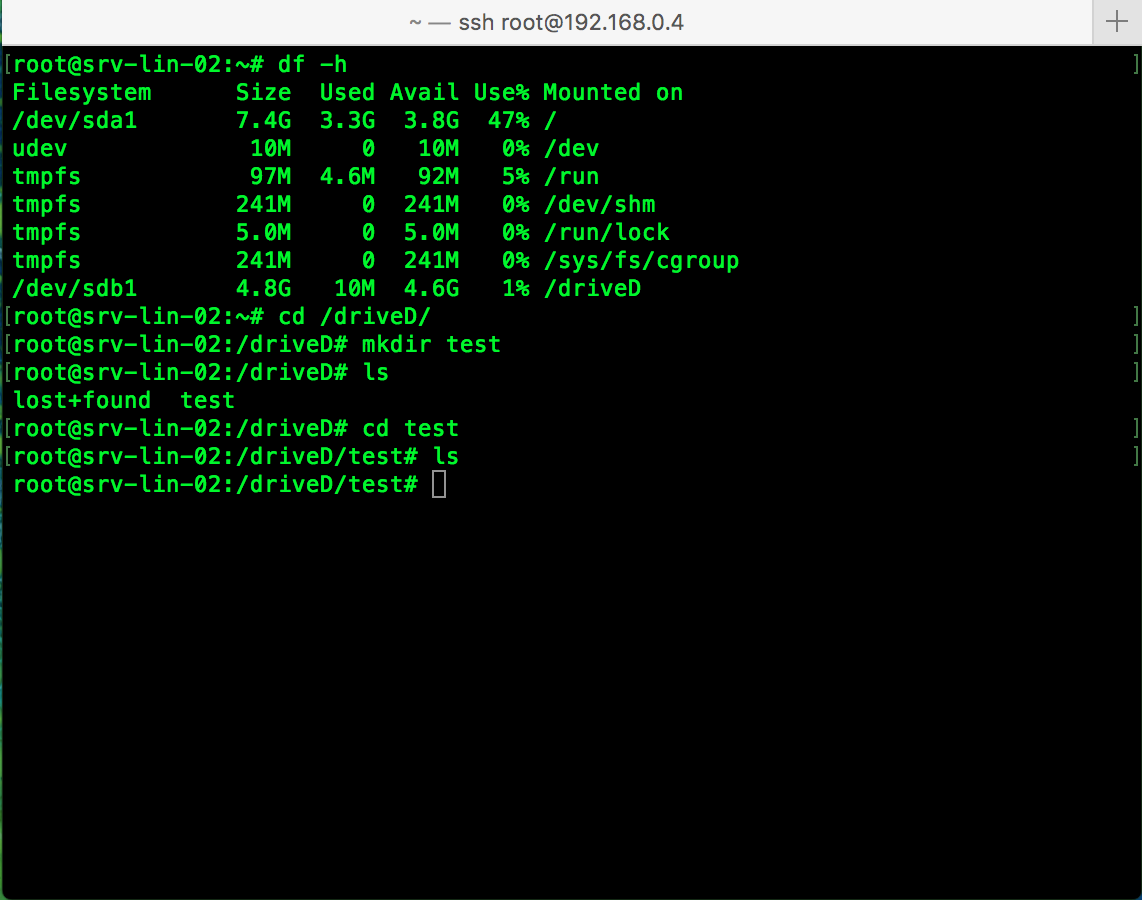
all mounted disks
The last thing we should do is to automate mounting this disk after reboot the server! Yes, if you simply mount the disk with mount command you will lose your mount after reboot the Linux. For avoiding this, we need to write mount command in fstab to make sure that disk will automatically mount after reboot the machine. I use editor nano to edit fstab but you can use your editor of choice. So, go ahead and do it:
nano etc/fstab
add following line to your fstab
/dev/sdb1 /driveD ext4 defaults 1 2

edit fstab and automise disk mount
Now your new disk is mounted and automated and ready to use even after rebooting the Linux.